


Tuesday, June 5, 2012
Adobe Photoshop Lightroom 4 Review
Posted by Lee Yuan Sheng in "Digital Home Software" @ 08:00 AM
In my opinion, the easiest way to show what the Develop module can do is with a quick walkthrough of how an image is edited. So let us take an image and give it a spin!
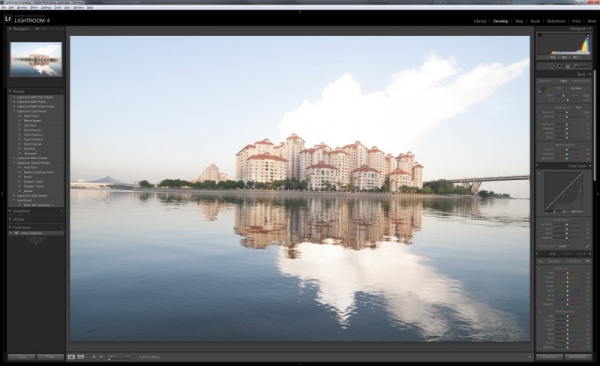
Figure 11: Our test subject.
This image isn't the best, but it will be a good test of what Lightroom can do. Firstly, the horizon is not level. Clicking on the Crop Overlay too (or just hit the R key) brings up the crop tool, as well as the straighten tool. A tweak of a slider gives a level horizon, along with an automatically cropped photo that crops away the blank areas.
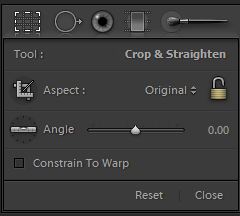
Figure 12: Crop tool.
The photo is clearly overexposed by quite a bit. Let us see what we can do.
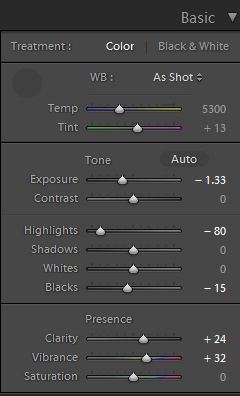
Figure 13: Basic adjustments. There can be plenty done with just these adjustments alone.
I am happy with the white balance, so let us not touch that. But if needed, the eyedropper tool is actually better than the one in Photoshop (at least for CS4). Picking a neutral target is easy, thanks to the expanded view that happens when the eyedropper tool is used over an area of an image. The usual colour temperature and tint sldiers are still available.
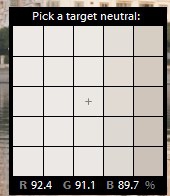
Figure 14: All eyedroppers should be like this.
Since I will not be changing the white balance, I will work on the other areas instead. Dial down the exposure a bit, and try to rescue the highlights while at it. Also, adding a little punch to the colours will help.
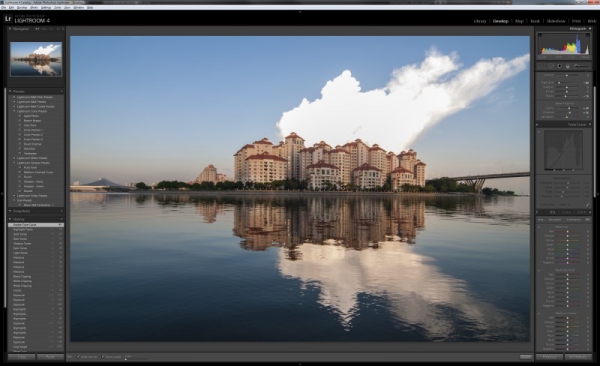
Figure 15: Looks better already.


