


Monday, May 25, 2009
The Digital Wall Project: An Epic Tale
Posted by Jason Dunn in "Digital Home Talk" @ 07:00 AM
Stage Two: The Electrician Does His Thing
The second step was the tear down: a screwdriver was all we needed to remove the simple black shelves we had hung on the wall. If only the rest of the project was that easy! After moving all of our furniture into the corner of our main floor, to give the contractors lots of room to work, the electrician showed up for the first part of his work: ripping into the wall. This part of the story is best illustrated by a set of stage-by-stage photos.
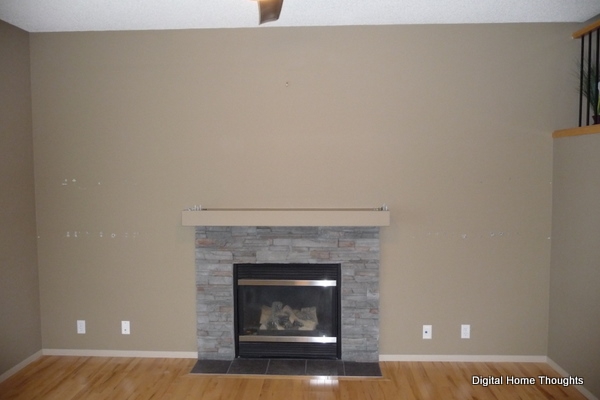
Figure 3: After we removed our shelves and moved our furniture into the corner, this is what was left.
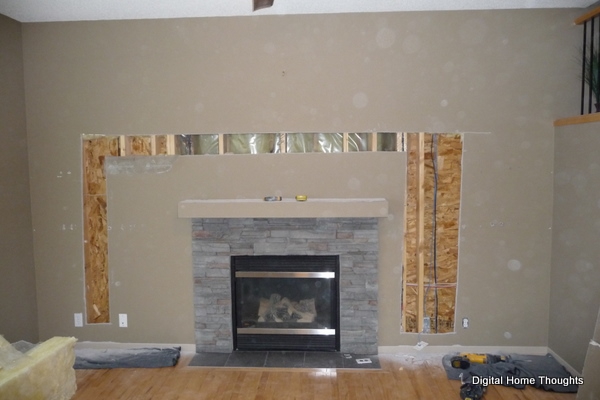
Figure 4: Drywall begone! There's no turning back now...
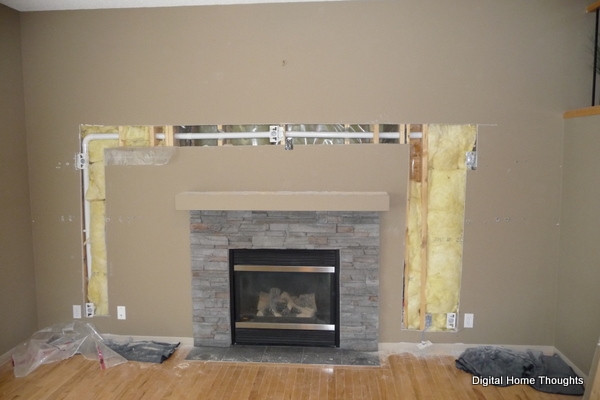
Figure 5: The Vacuflo tubing is mounted in the wall.
We had discussed several plans with the electrician, and we determined that to give me the flexibility I wanted, running Vacuflo tubing inside the wall was the best course of action. It would give me the ability to run any sort of cable that I wanted, and while it wouldn't be as "pretty" as terminated wall-jacks, the panels would be completely hidden so it didn't matter much. The electrician quickly tore into the drywall, cut through parts of the studs required to run the Vacuflo tubing, and mounted the 2x8" piece of wood. The 2x8" was critical because we were going to mount the plasma TV at the centre point of the mantle above the fireplace, which happened to be in-between studs, so having the extra support was vital.
It's important to point out here that the measurements we gave the electrician were checked and re-checked several times, and cross-checked with the carpenter who was building the custom shelves for us. Every inch mattered, so we made sure everything was measured properly and we assumed the electrician would follow our measurements.
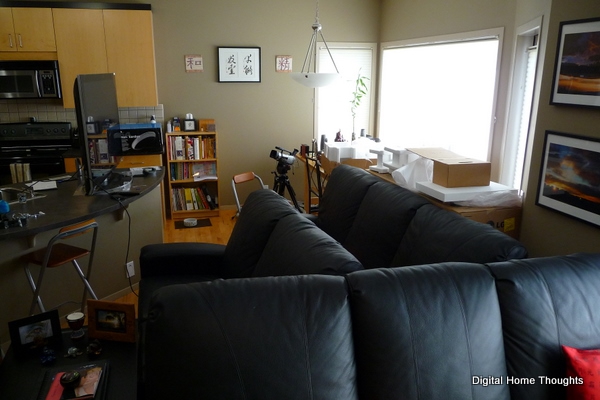
Figure 6: Our kitchen area was quite a disaster while this project was underway.


